Kawasaki KLR-650 windscreen modification
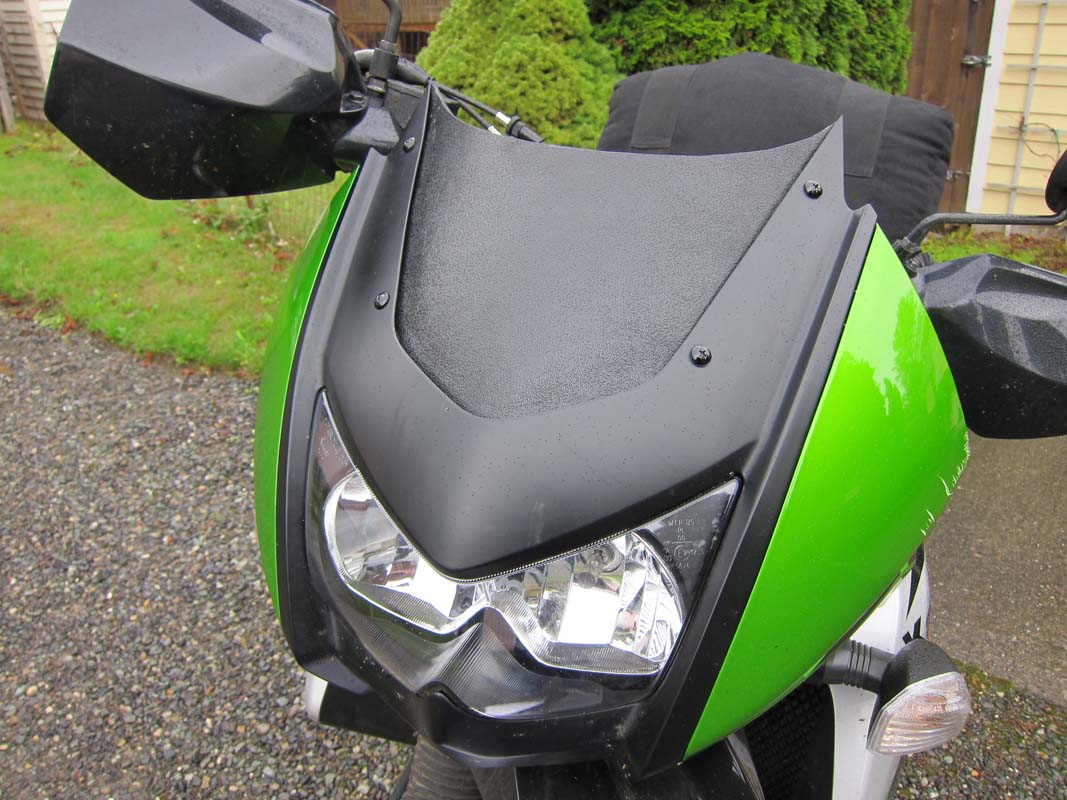
While the KLR stock windscreen looks good on the bike and sells bikes in the showroom, I have found it to be deficient in actual use. The windscreen does block some some of the wind pressure hitting the rider in the chest, but the turbulence from the top of the windscreen tends to hit one in the helmet, causing what I call the "popcorn popper machine effect". That is to say, the head gets buffeted around pretty well and after a couple of hours at speed (say 55 mph+) my eyeballs are rolling around in their sockets and I gotta rest. I purchased and tried a couple of different larger windscreens (C-Bailey and Laminar Lip) but neither of those helped at all.
On a 300 mile trip this summer I finally had the bright idea of pulling into a rest stop and just removing the windscreen altogether. Not surprisingly, the air pressure on my chest increased somewhat, but it was nice smooth air flow around my helmet...no turbulence whatsoever, and it was a very comfortable ride. I just leaned forward a few degrees to compensate for the additional air pressure.
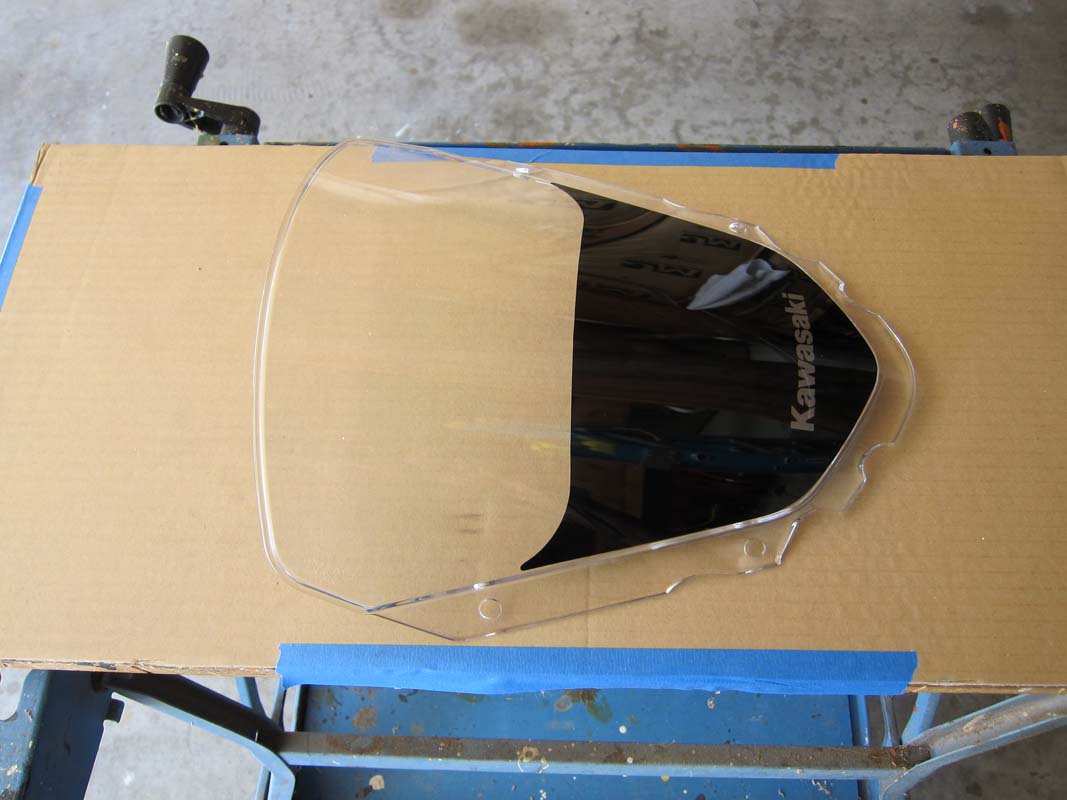
The windscreen I came up with here protects the instrument panel wiring without sacrificing the smooth air flow that is achieved by removing the windscreen altogether. It could also be achieved by buying a replacement windscreen (about $100) and just cutting it down. But what fun would that be? haha
The modified windscreen is made from 0.115" ABS plastic purchased from Tap Plastics. It is secured to the KLR fairing using well nuts, just like the original windscreen.
The first step is to make a mold of the original windscreen. This is done using plaster of paris.
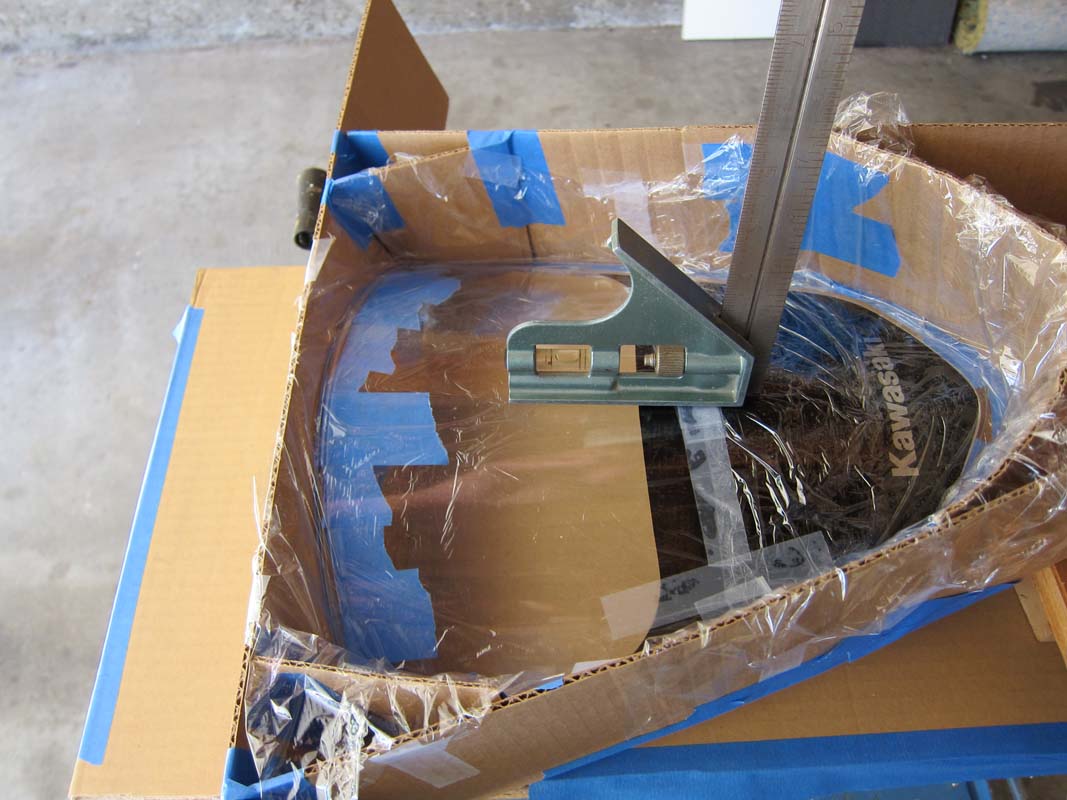
A box is formed using cardboard. The Glad wrap was used to protect the original windscreen.
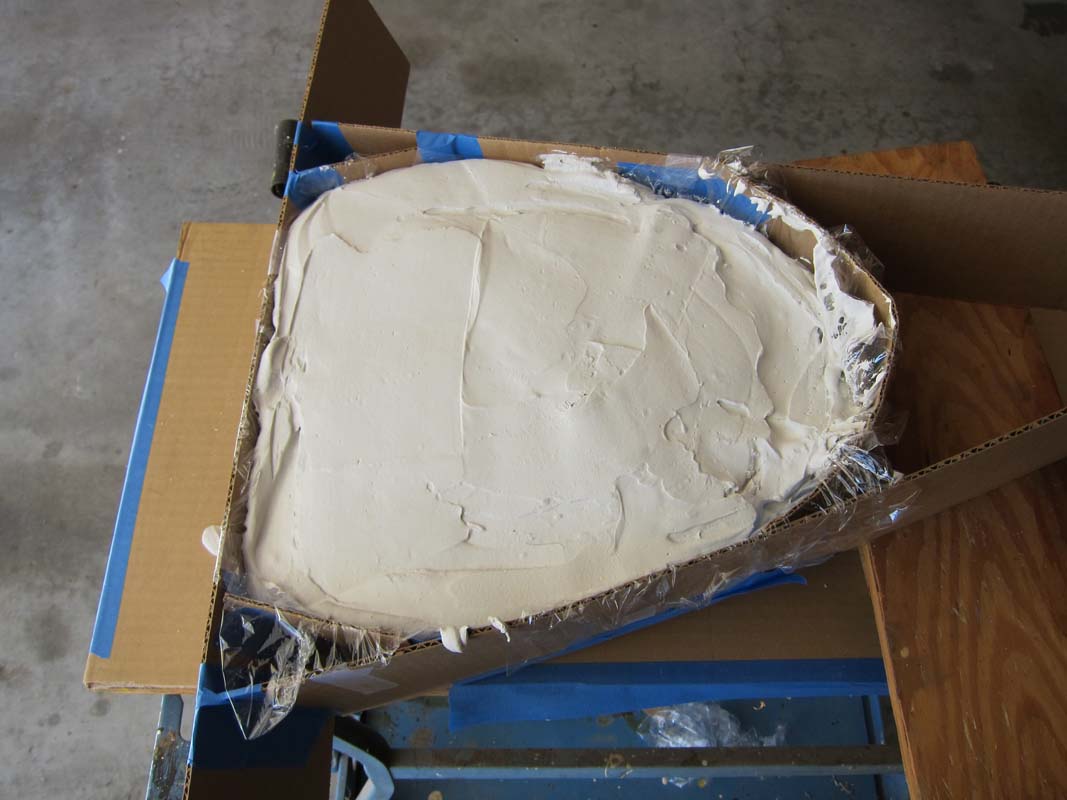
After pouring the plaster I waited for 24 hours until it cured.
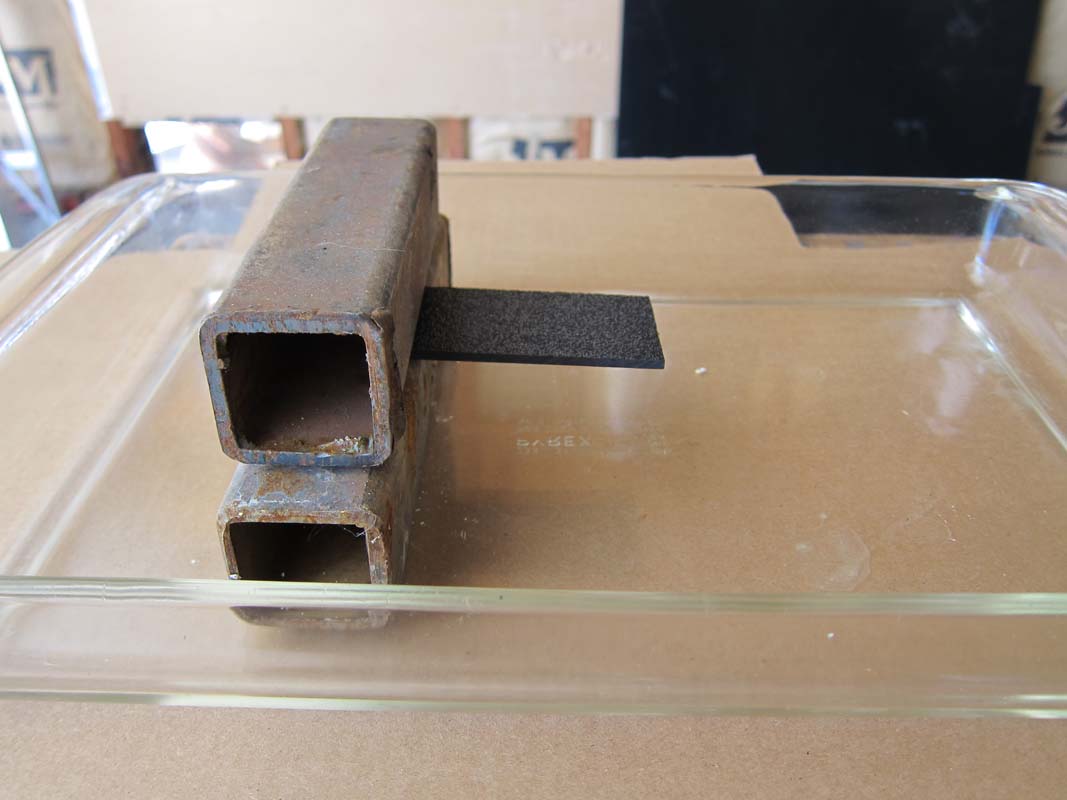
While I was waiting.....I did some experiments with the ABS material to figure out what temperature and time I should use to soften the material enough so that it could be easily pressed into the mold. The first try was 275F for 10 minutes. Not enough.
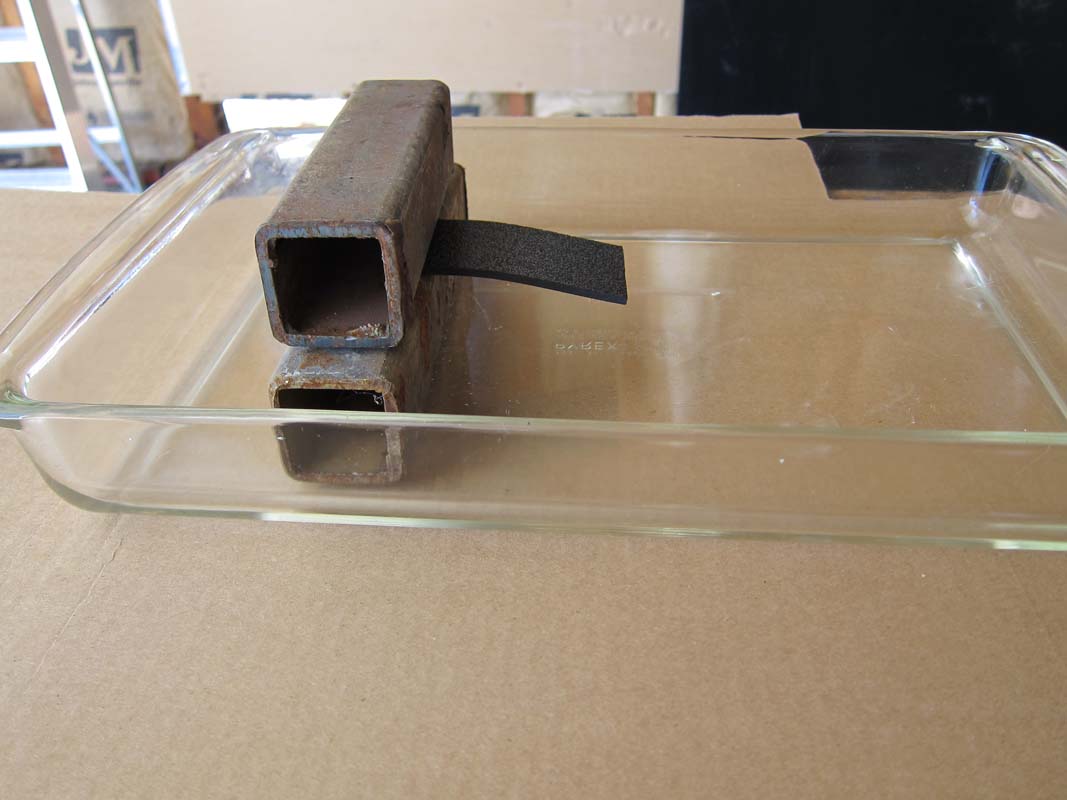
Then 300F for 10 minutes. Better.....
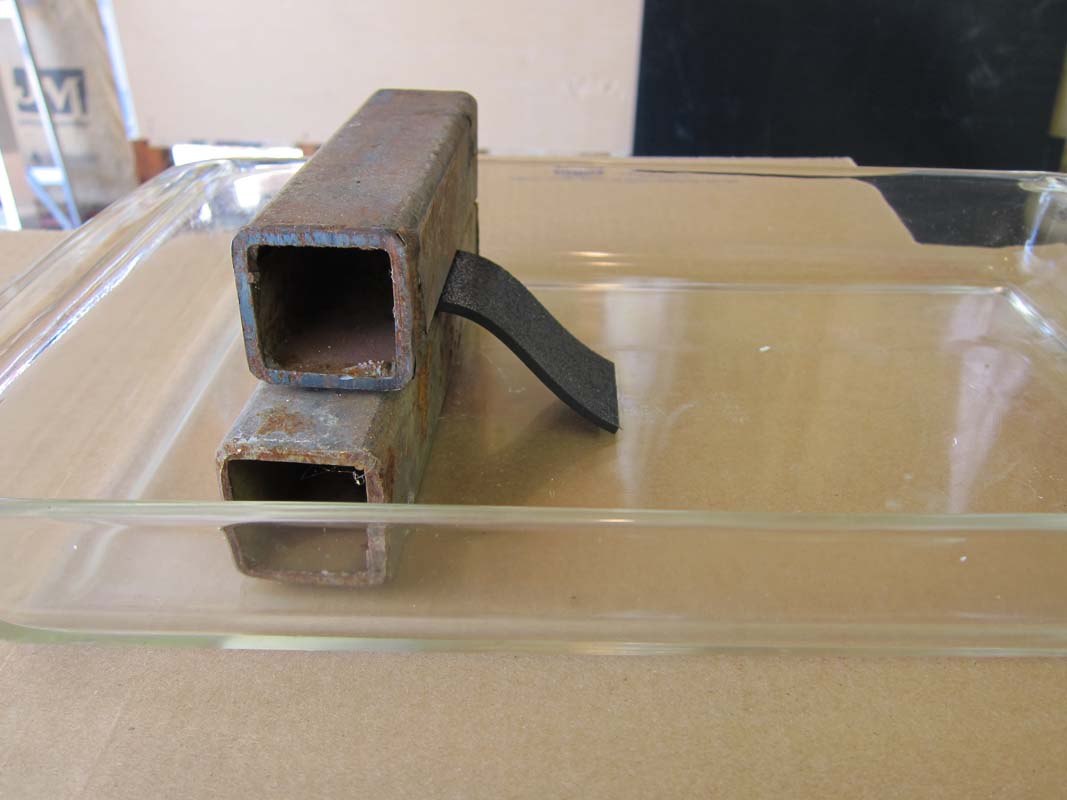
325F for 10 minutes was just right, and so that is what I used for the actual forming step.
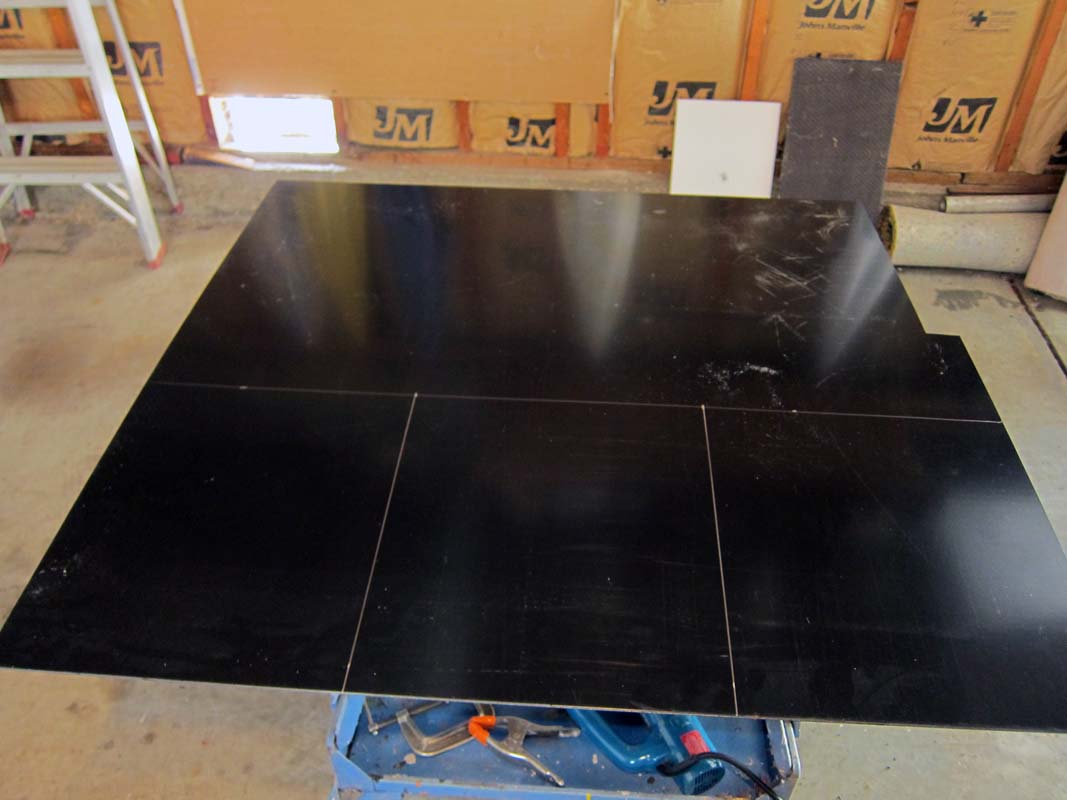
Here's the big sheet of plastic marked up for cutting with a saber saw.
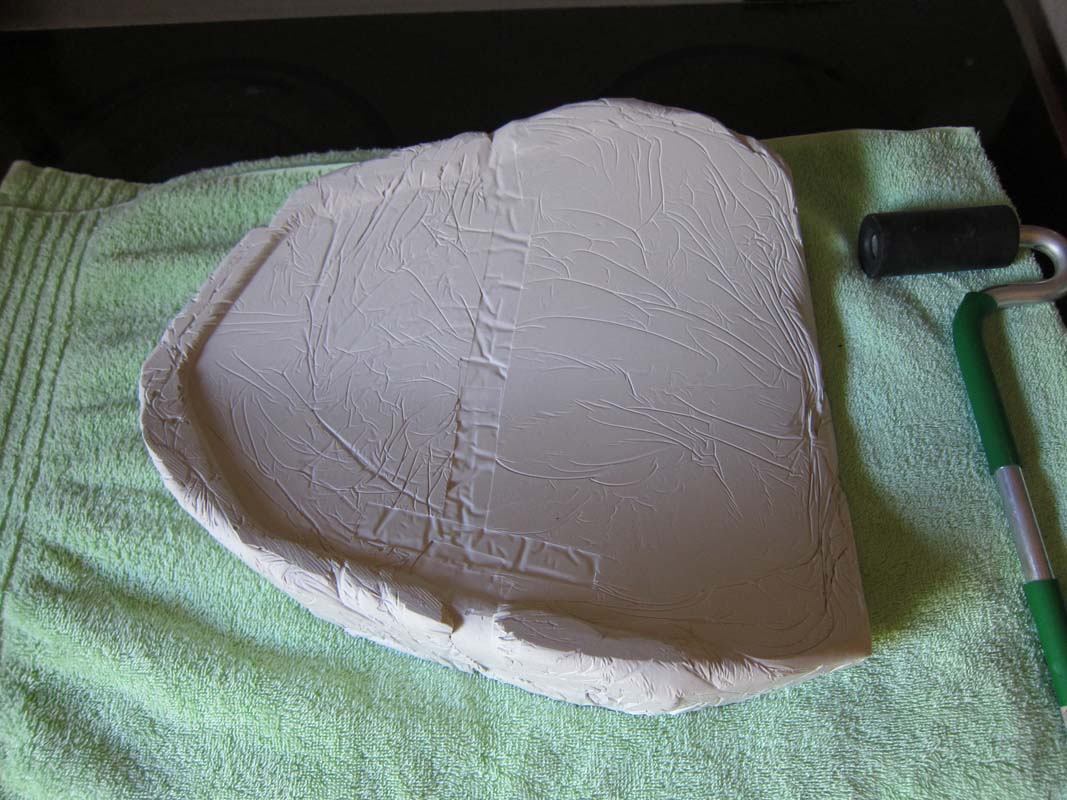
The mold is ready to go. The minor bumps and lines are from the Glad wrap. They are inconsequential because the ABS sheet does not get soft enough to pick up that sort of detail.
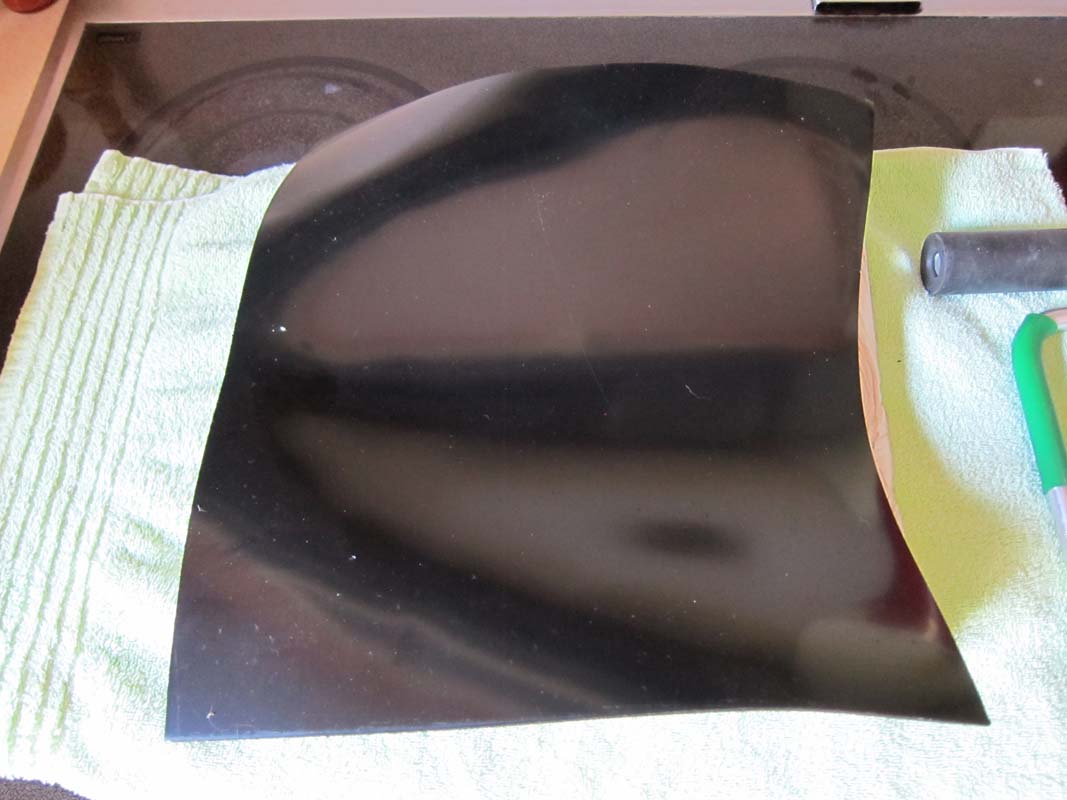
I tried a couple of different techniques to press the plastic into the mold and eventually settled on oven mitts. You only get about 10 seconds of work time.
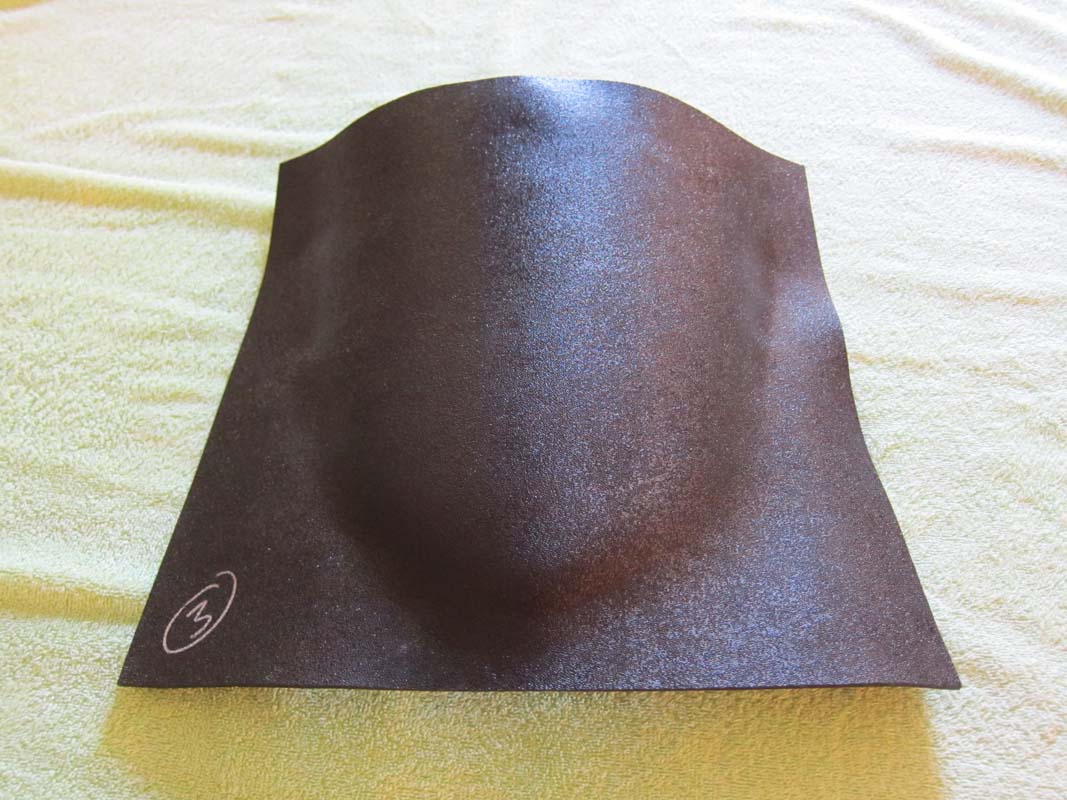
Here's how it looks just after forming.
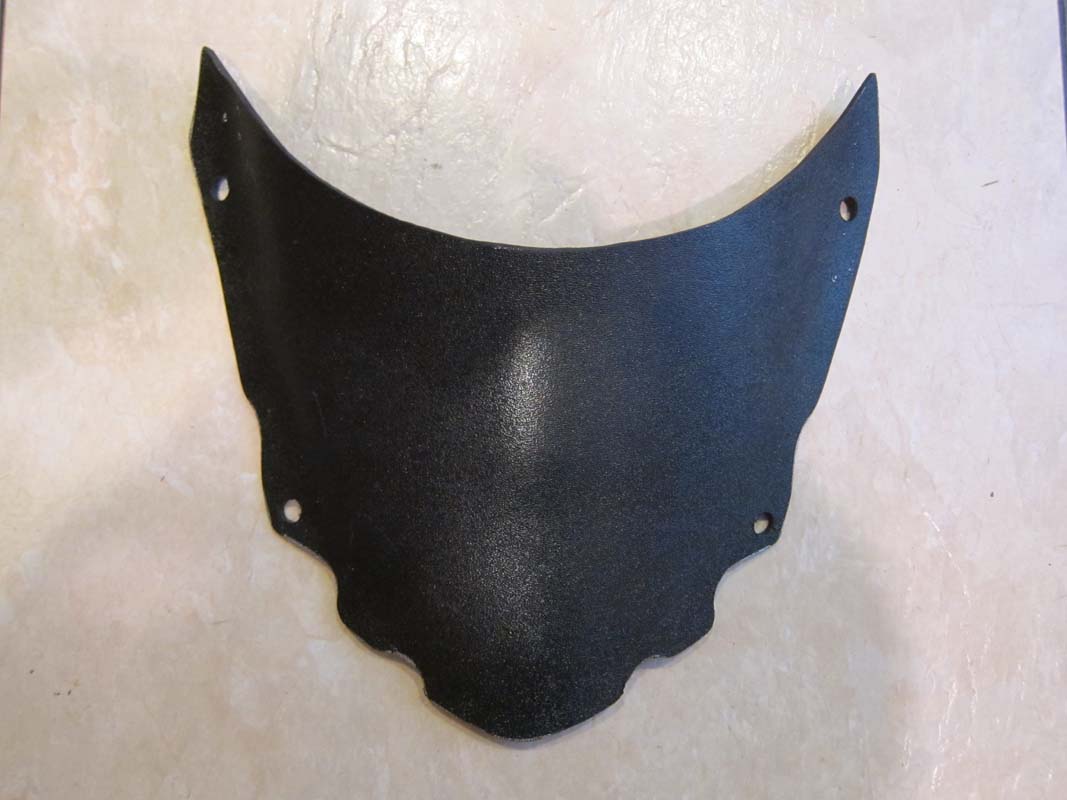
Then the windscreen is trimmed and drilled using the original windscreen as a template
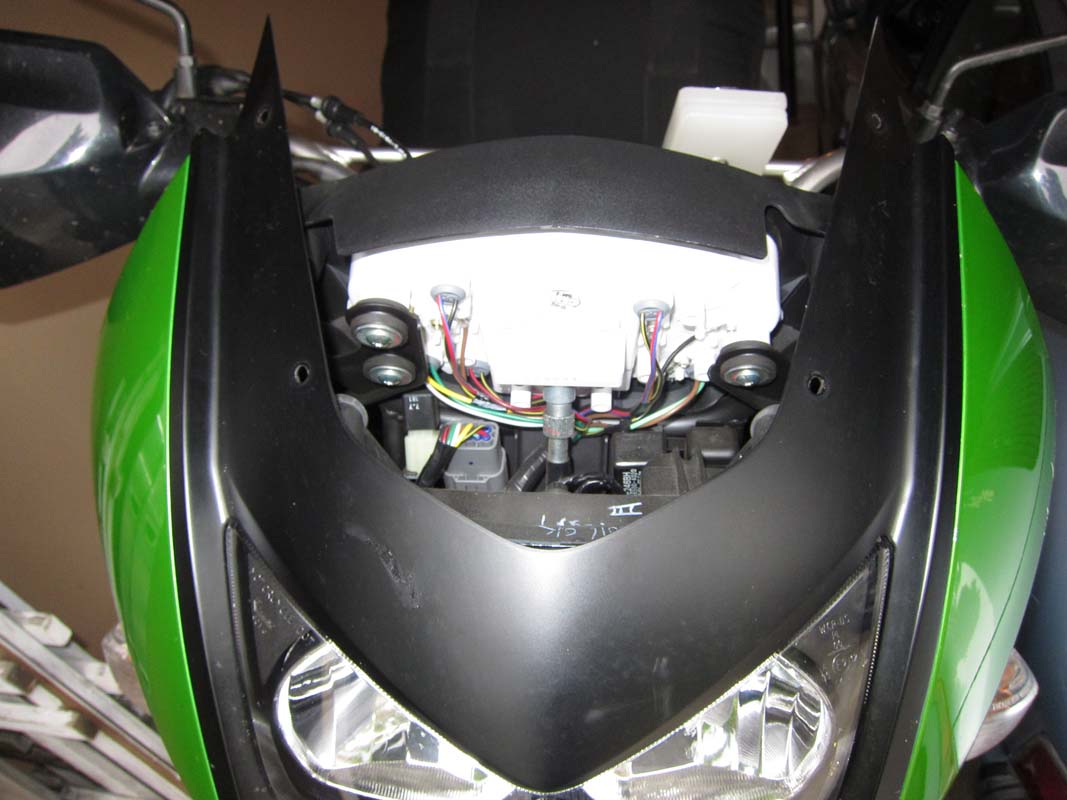
This is the area behind the instrument panel that needs some sort of protection.
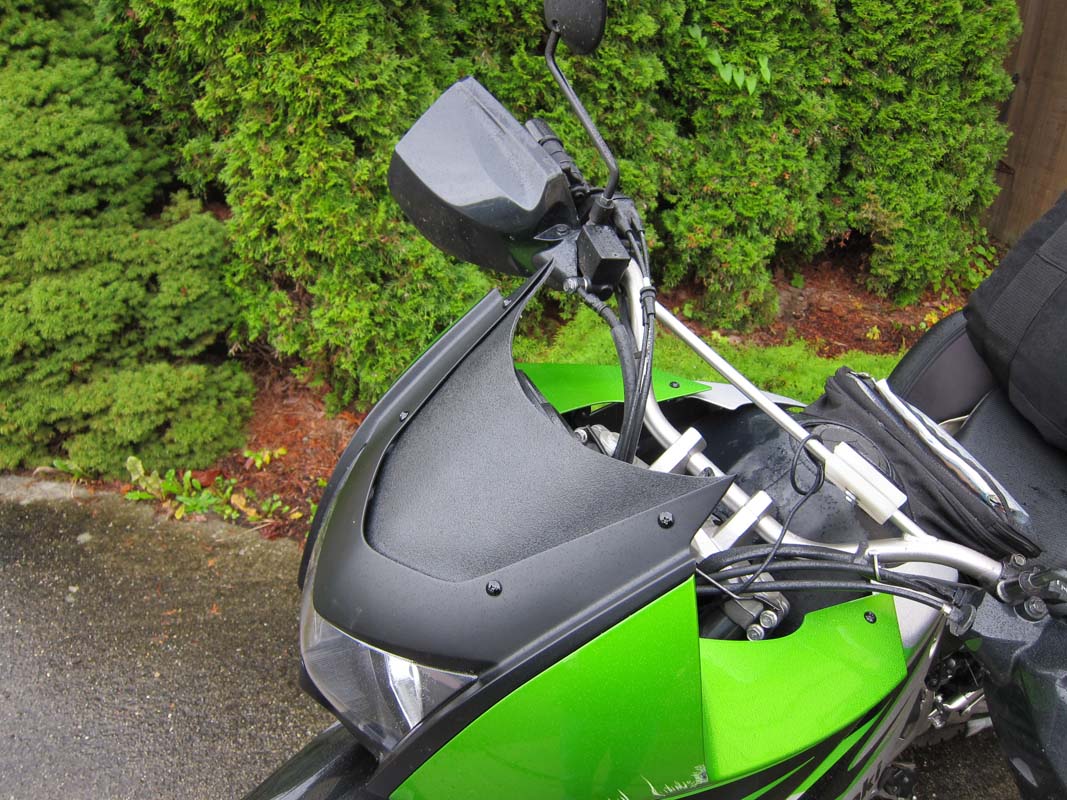
The finished product
My road test results were just great. I took a 50 mile ride down I-5, hitting speeds of about 75 mph indicated and the air flow was nice and smooth. Very happy with how this project turned out.